
User Work Flow: Application Create/Edit
Please note:
For pre-configurations, please refer to section Pre-requisites. For background information, please refer to section Networking Package Data Consistency Checks and section Main GUI Status Indications.
For multiple users working with NP observe the procedure given in NP User Work Flow.
For creating an application,
Proceed as follows: (Note that the steps are as indicated in figure NP user work flow for creating an application)
1 Open a terminal and ensure correct interworking of BP and NP databases, by running the “npresynch” script:
$ npresynch
Stopping NP Network Manager Service...
Starting resynchronization of all NEs, foreigns and sections in the database.
=============================================================================
GenApp started: 20210112 08:02:27
Network generation running...
Analysing 5 equipment(s).
NE-80
COMMIT: database version, new id 14
...
Total Time : seconds
COMMIT: database version, new id 15
Received 0 Foreign network elements from BP network Mgr.
Total Time : seconds
Generating TEs from free MCs ...
Generating TEs from free MCs, done!
COMMIT: database version, new id 16
Generating TEs from free MCs ...
...
Generating TEs from free MCs, done!
COMMIT: database version, new id 17
Network synchronisation finished!
Starting synchronization of Foreign Object definitions.
=======================================================
GenApp started: 20210112 08:02:28
Network completion running...
Network completion finished!
Done.
Starting NP Network Manager Service...
2 Add NEs to NP-Nodes Domain:
NEMDesktop > Application > NEM Configurator > Domains > right-click on "NP-Nodes" > Domain Properties > Change Selection > Choose Members
Please note:
NP license specifies a specific number of NEs, ensure that all the NEs to be reported to NP are members of the automatically generated “NP-Nodes” Domain.
→ To automatically add the subsequently discovered or created NEs to NP-Nodes Domain, add the parameter below to /opt/nem/etc/np.conf (Note: execute “nemstart” or “corestart” to activate the configuration changes).
np_add_ne_to_domain true
This parameter must be configured in the core and in the distributed EA hosts.
3 Start NP User Interface:
NEMDesktop > Application > Networking Package
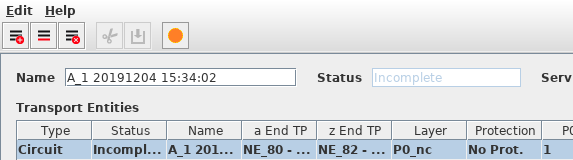
• Are NP/BP Databases synchronized?
− If “Yes”, click the “Refresh Filter List” button to retrieve the existing Application(s)/Transport Entities.
− If “No”, there will be an “OUT of SYNC” indication as shown below.
→ Log out of NEM Desktop.
→ Go to Step 1 and run “npresynch”.
→ Go to Step 3.
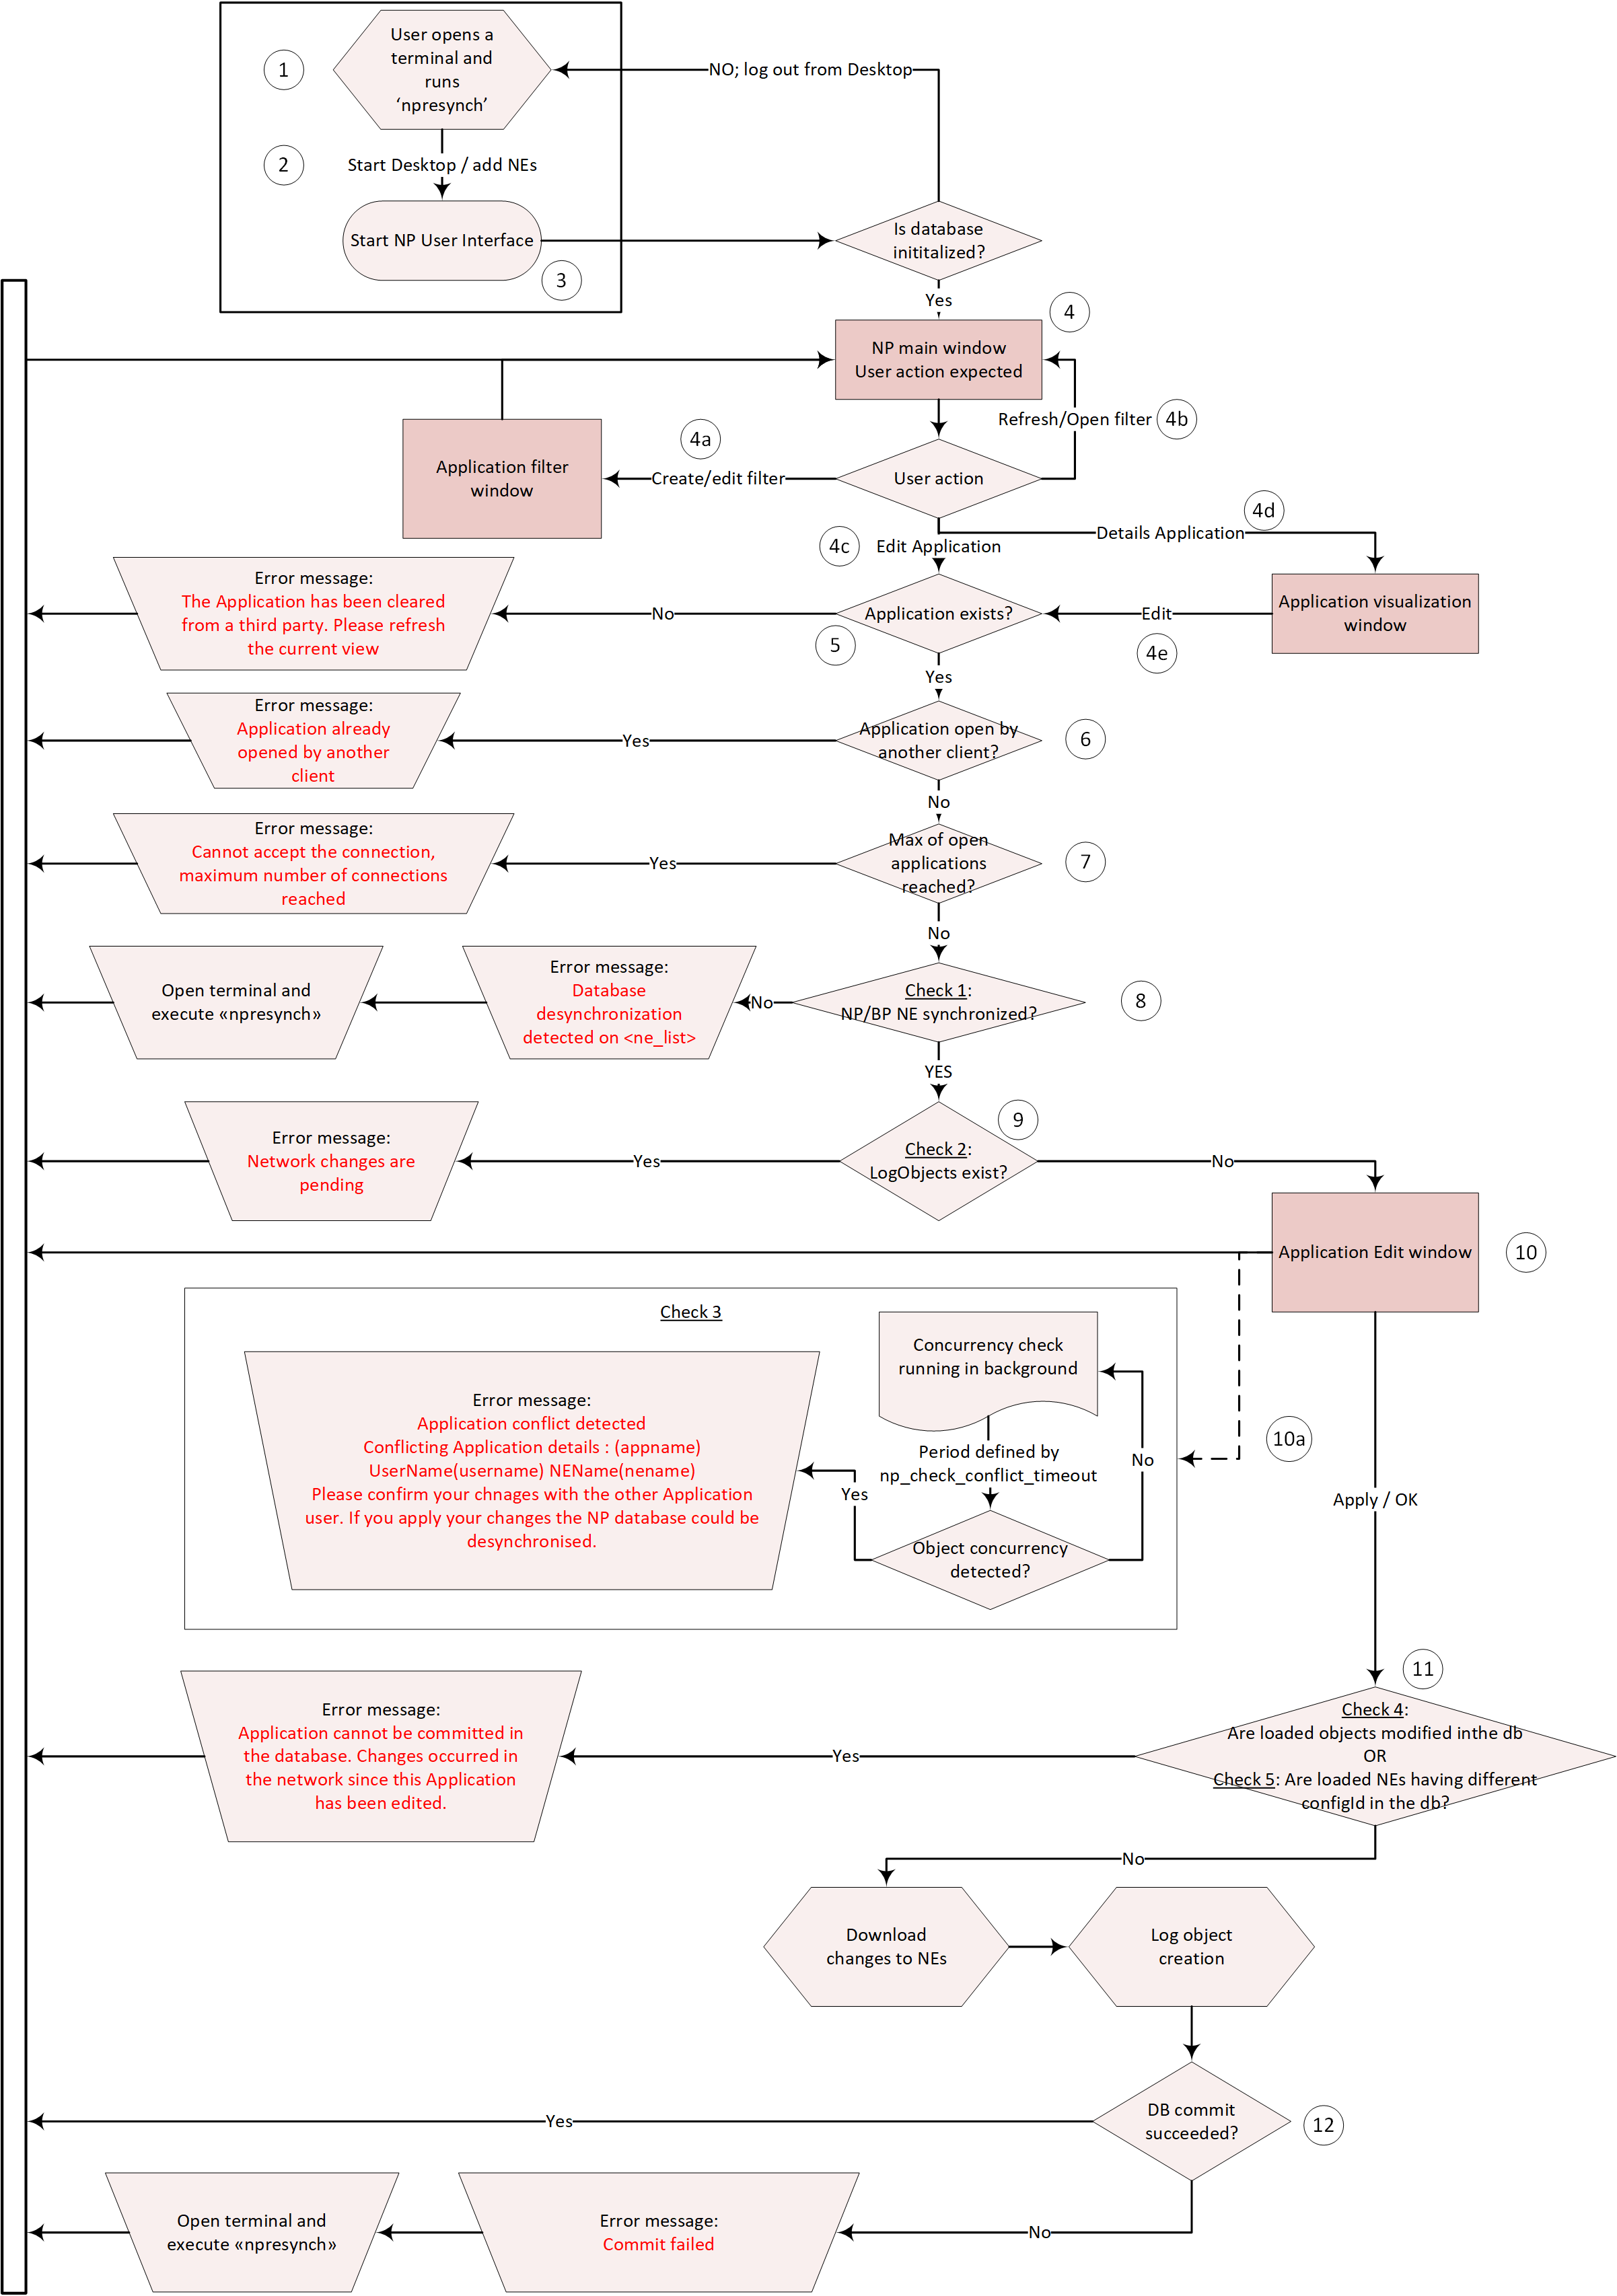
NP user work flow for creating an application
4 From the NP Main user interface window, the following NP user actions are possible:
4a. Create Filter:
The filter provides the possibility to search for particular information regarding the network in order to retrieve and display only Applications/TEs that meet the selected filter criteria.
NP Main Window > File > Create Application Filter
4b. Refresh Filter List:
The NP GUI has a background thread, which periodically polls the NP database status and updates the “Refresh Filter List” button.
The NP database status is updated when:
− Object download via NP GUI is terminated (Pending Changes indication is cleared).
− NP-BP synchronization:
The BP has notifications to the Event Channel informing the NP when BP trail information changes (e.g. creation/deletion of TDM cross connection via FOXCST/UCST) are ready for NP.
For example, the “Refresh Filter List” changes color as soon as the cross-connections are created. It does not have to wait until the changes are “saved” to NE via FOXCST/UCST.

→ Click “Refresh Filter List” button

After the Refresh is executed by the system, the “Refresh Filter List” button return to its default state (gray background) and the main user interface is updated.
4c. Call the Application Window in “Edit” Mode:
− Create new Application:
NP Main Window > File > Create New Application
− Edit an existing Application:
NP Main Window > Application/Transport Entities Tab > Right click on Application/TE to be edited > Edit
4d. Call the Application in “View” mode:
NP Main Window > Application/Transport Entities Tab > Right click on Application/TE to be Viewed > Details
4e. Change from Application “View” Mode to “Edit” Mode:
→ Click “Edit” button on currently opened Application “View” Window.
5 Application exits?
• If “Yes”:
The system proceeds to next step.
• If “No”
The Application currently being edited could have been deleted by another NP user.
The user receives the error message:
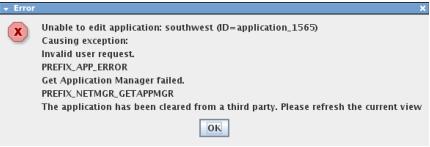
→ Click “OK”.
→ Click “Cancel” button on Application Window to go back to Step 4.
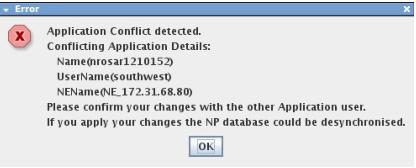
6 Application already opened in “Edit” mode by another Client?
• If “Yes”:
Application Conflict icon is colored orange.
Details about the conflict state is given when clicking on the conflict status icon.
The User receives the error message as shown below:
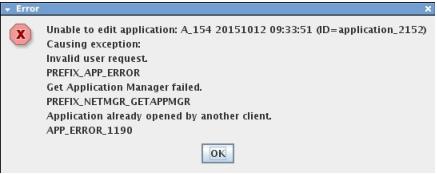
→ Click “OK” button.
→ Click “Cancel” on Application Window to go back to Step 4.
• If “No”:
The system proceeds to next step.
7 Max. no. of open Application Edit reached?
→ By default there is no limit to the number of open Applications Edit.
To set a limit, uncomment the “np_max_applicationmanager” parameter of np.conf and edit the default value as required.
[nemadmin@nemsrv ~]$ vi /opt/nem/etc/np.conf
np_max_applicationmanager 5
→ restart the Core
[nemadmin@nemsrv ~]$ corestart
• If “Yes”:
The number of Application Edits opened by other NP users already reached the set limit.
When the NP user tries to open another Application Edit he receives an error message as shown below:
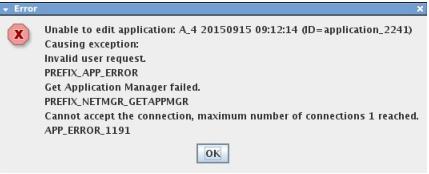
→ Click “OK”.
→ Click “Cancel” on Application Window to go back to Step 4.
• If “No”:
The system proceeds to next step.
8 Check 1: NP/BP NE synchronized?
The NP core regularly queries the current NP database synchronization with the BP database. This is done by comparing the NE config ID recorded in the NP Database with the NE config ID in the BP Database.
• If “Yes”:
The NP/BP NEs are synchronized if the NEs have the same NE config IDs in the NP and BP databases.
The system proceeds to next step.
• If “No”, the user receives an error message as shown below:
→ Click “OK”.
→ Log out all the users of NEM Desktop.
→ Open terminal and execute “npresynch”.
[nemadmin@nemsrv ~]$ npresynch
Please note:
The user receives the error message below, if not all users are logged out:
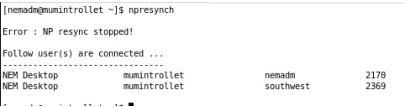
→ Log in all users to NEM Desktop
→ Go to Step 4
9 Check 2: Log Objects exist?
When the NP user commits a change (NP User click the Application Window “OK” or “Apply”), the Networking Package downloads the change configuration to the involved network elements. For each modified object, e.g. TE: Circuit, the NP-core creates a log object.
• If “Yes”:
There is an on-going download of Application changes (log objects) to the NE(s). The download of changes has not yet terminated or the NP-core has not yet received the BP notification for the object creation, update or deletion in the network element.
The number of current log objects is shown in “Pending Changes” indication on the right side of the tool button bar.

The user receives an Error message “Network Changes are pending”
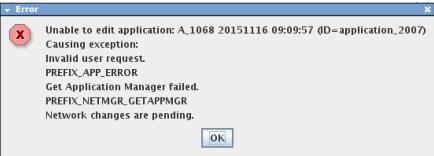
→ Click “OK”.
→ Wait until the “Pending Changes” indication is cleared.
Please note:
The NP User has to wait until all log objects are cleared before he can perform Application Edit.
→ To monitor the details of the pending changes.
$ cd /opt/nem/var/log
$ tail -f npnetworkmgrd.log
• If “No”:
There is no on-going download of changes to the NEs. The system proceeds to next step.
10 Call the TE Window:
As soon as the a/z NEs are selected, the system proceeds to 10a.
10a. Check 3: Concurrency Check (Fast conflict detection):
When an NP user selects a NE, which is already selected for Edit by another NP user, both of users will receive error messages as shown below:
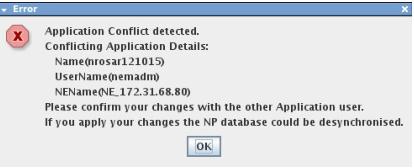
→ Click “OK” on the Error window.
• If the other NP user (e.g User 2) has the priority to commit changes to the NP Database:
→ Close the TE and Application Windows.
→ Go back to Step 4 (NP Main Window).
• If the NP user (e.g. User 1) has the priority or if there is no agreement between the simultaneous users:
→ Continue with TE creation or edit.
→ Click “OK/Apply” on the “New/Modify” TE Window.
→ Click “OK/Apply” on the Application Window.
11 Check 4: Are loaded objects modified in the NP Database? or
Check 5: Are loaded NEs having different config ID in the NP Database?
Check 5: Are loaded NEs having different config ID in the NP Database?
The system compares the User’s Application Cache data with the NP database information.
• If “Yes”:
The user’s (e.g. User 1) Application cache is no longer up-to-date compared with the NP Database. This situation could be the result of either:
− Another NP user (e.g. User 2) has committed his changes to an NE, which is already loaded in User 1 Application Cache.
− A FOXMAN-UN user (e.g. User 3) edits via UCST or FOXCST the same NE already loaded in the User 1 Application Cache.
When the FOXMAN-UN user saves his changes, the NE configid in the BP Database is updated. The NP Database is then updated by synchronizing with the BP Database. The User 1 Application Cache, however, is not updated.
User 1 receives an error message as shown below:
→ Click “OK”.
→ Close the “New/Modify TE” and “Application” Windows.
→ Go back to Step 4 (NP Main Window).
• If “No”:
The User 1 changes are downloaded to NE(s).
The number of pending log objects are shown in the “Pending Changes” indication. After completion of download, the system proceeds to next step.
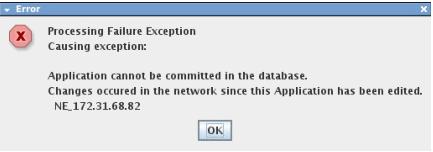
12 Database commit succeeded?
• If “Yes”:
The changes are committed to the NP Database. Application with TE(s) is created/edited.
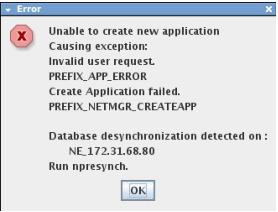
• If No:
The changes are not committed to the NP Database. The user receives an Error message: “Commit failed”.
A possible cause could be the NP database is out of sync with the BP database.
→ Log out of NEM Desktop.
→ Open terminal and execute “npresynch”.
[nemadmin@nemsrv ~]$ npresynch
→ Log in all users to NEM Desktop.
→ Go to Step 4 (NP Main Window).