
Map Select NEs/FOs
This dialog is called from the NEM Network Browser main window with the Edit Mode activated. To add and select NEs, drag and drop one of the NE symbols to the map.
Purpose
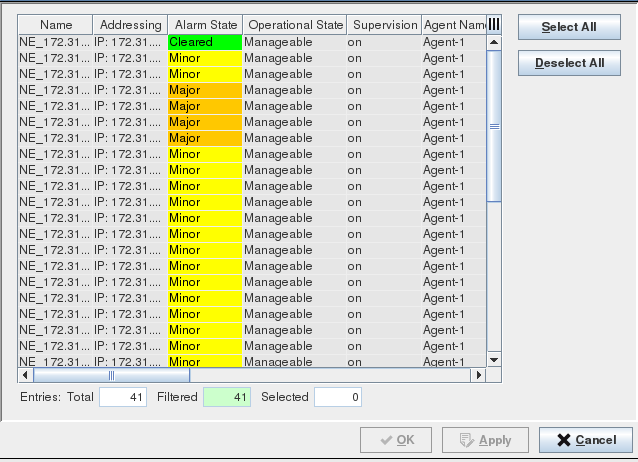
The dialog presents a list of all available objects (NEs or FOs) to which the FOXMAN‑UN user has read access (members of the Domain assigned to the user).
One or more objects can be selected and will be added to the map using the previously selected symbol.
A table filter is provided to simplify selection when working with large networks.
Dialog image
Select NEs
Mandatory entries
Select at least one Network Element from the table.
Optional entries
Not applicable.
Informational content
List of available objects. The list only presents objects suitable for the selected type of symbol (NE or FO) to which the user has Read access to.
Controls (buttons, menu items, etc.)
Please note:
• To select a single item from the table list: Click on a specific NE/FO.
• To select multiple items from the table list: Press “Ctrl key” then click on the required NEs/FOs.
• To select a range of items from the table list: Click on the first NE/FO, Press “Shift key” then click on the last NE/FO to be included in the range.
Select All | Selects all the NEs/FOs in the table. |
Deselect All | Clears the selection. |
OK | Applies the modifications and closes the dialog. |
Apply | Applies the modifications without closing the dialog. |
Cancel | Closes the dialog without applying the modifications. |
Table Sorting and Filtering/Export and Printing
Please refer to Table Sorter section for details.
Related dialogs / windows