Tag management feature
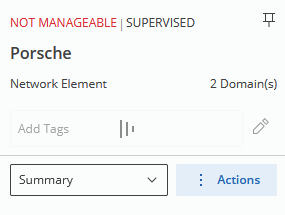
To tag an entity, one way is to open its right panel by selecting it from the map. In the right panel header, there is a field with tags or, if there are no tags on the given object, just a label “Add Tags”.
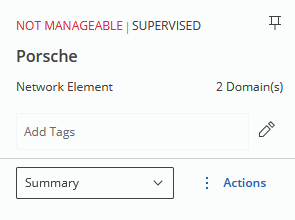
Clicking on this field will make it an input field for adding/removing tags.
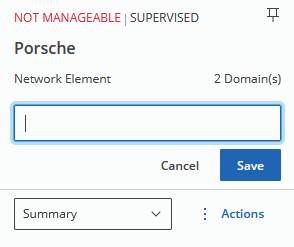
When the user starts typing, an option to create a new tag will appear.
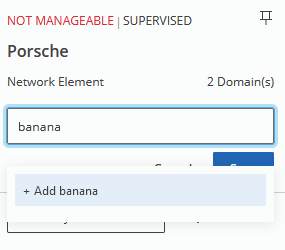
Clicking this option will add a tag to the input field but will not commit the changes yet.
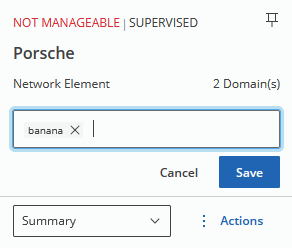
Only when the user clicks “Save”, the changes get saved. At first the loading state is displayed.
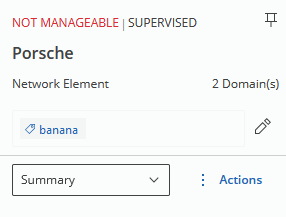
Then we see the updated state when the changes have been committed.
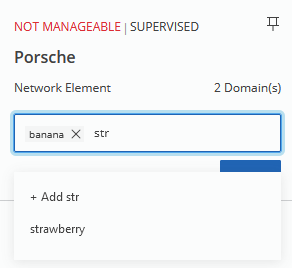
If a tag already exists in the system, it will be shown as an existing option if the input string matches it. Additionally, tags may be removed from the object by clicking “X” on the right side of the badge when the field is in edit mode. Once again, these changes will not actually take place until the “Save” button is not clicked:
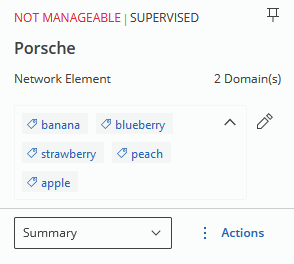
If an object has many tags, not all of them will be shown. Instead, a collapse button in form of an arrow will be placed in top-right corner:
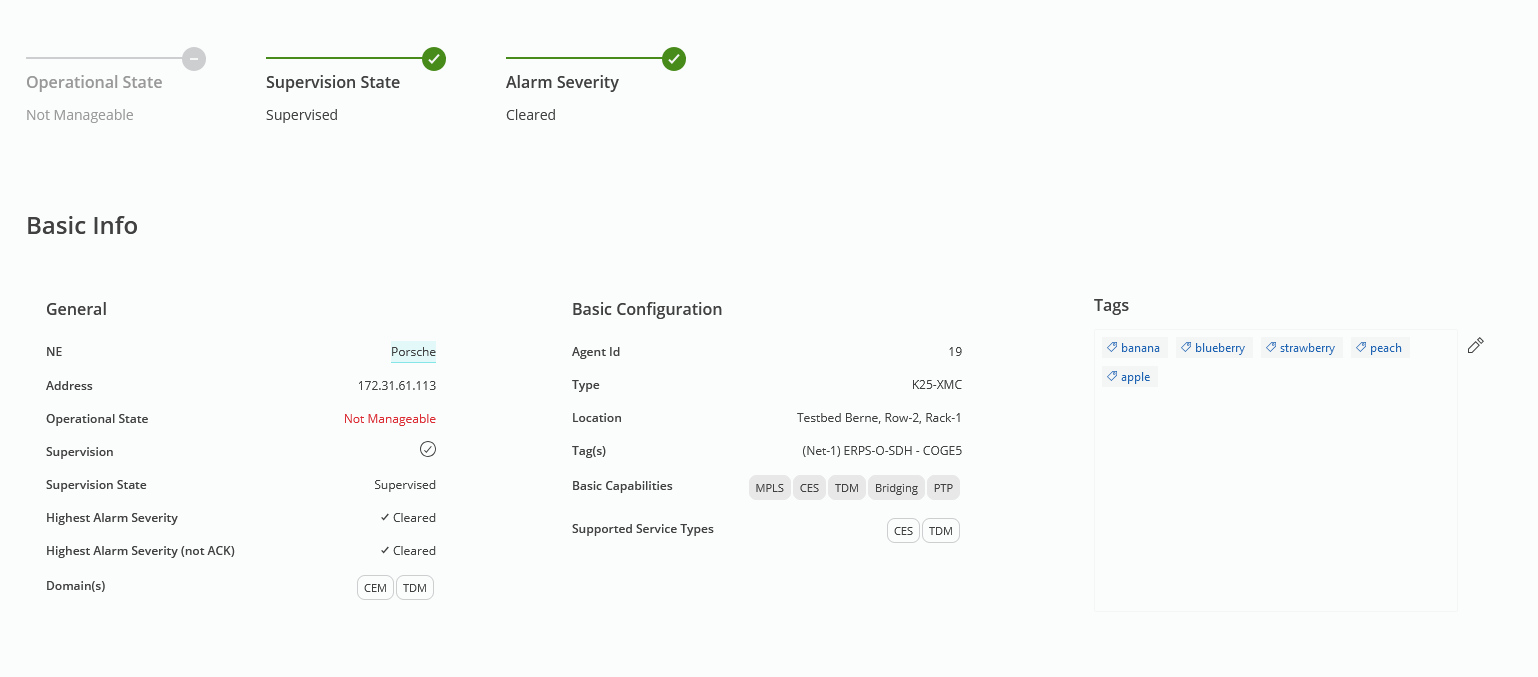
An identical field is now shown in the “Details” view of each entity:
Generally, any object that is of enough interest to have its own views in the Web UI can be tagged (VPWS, NE, Circuit Emulation Service, DCN VLAN, anything…). Example exceptions are Alarms, System Events, and Tasks.
Tags are Unicode strings of text with up to 50 characters.
One tag can be attached to objects of arbitrary type. For instance, nothing prevents the tag “banana” from being attached to some NE, VPWS, Tunnel, and DCN OSPF Area.
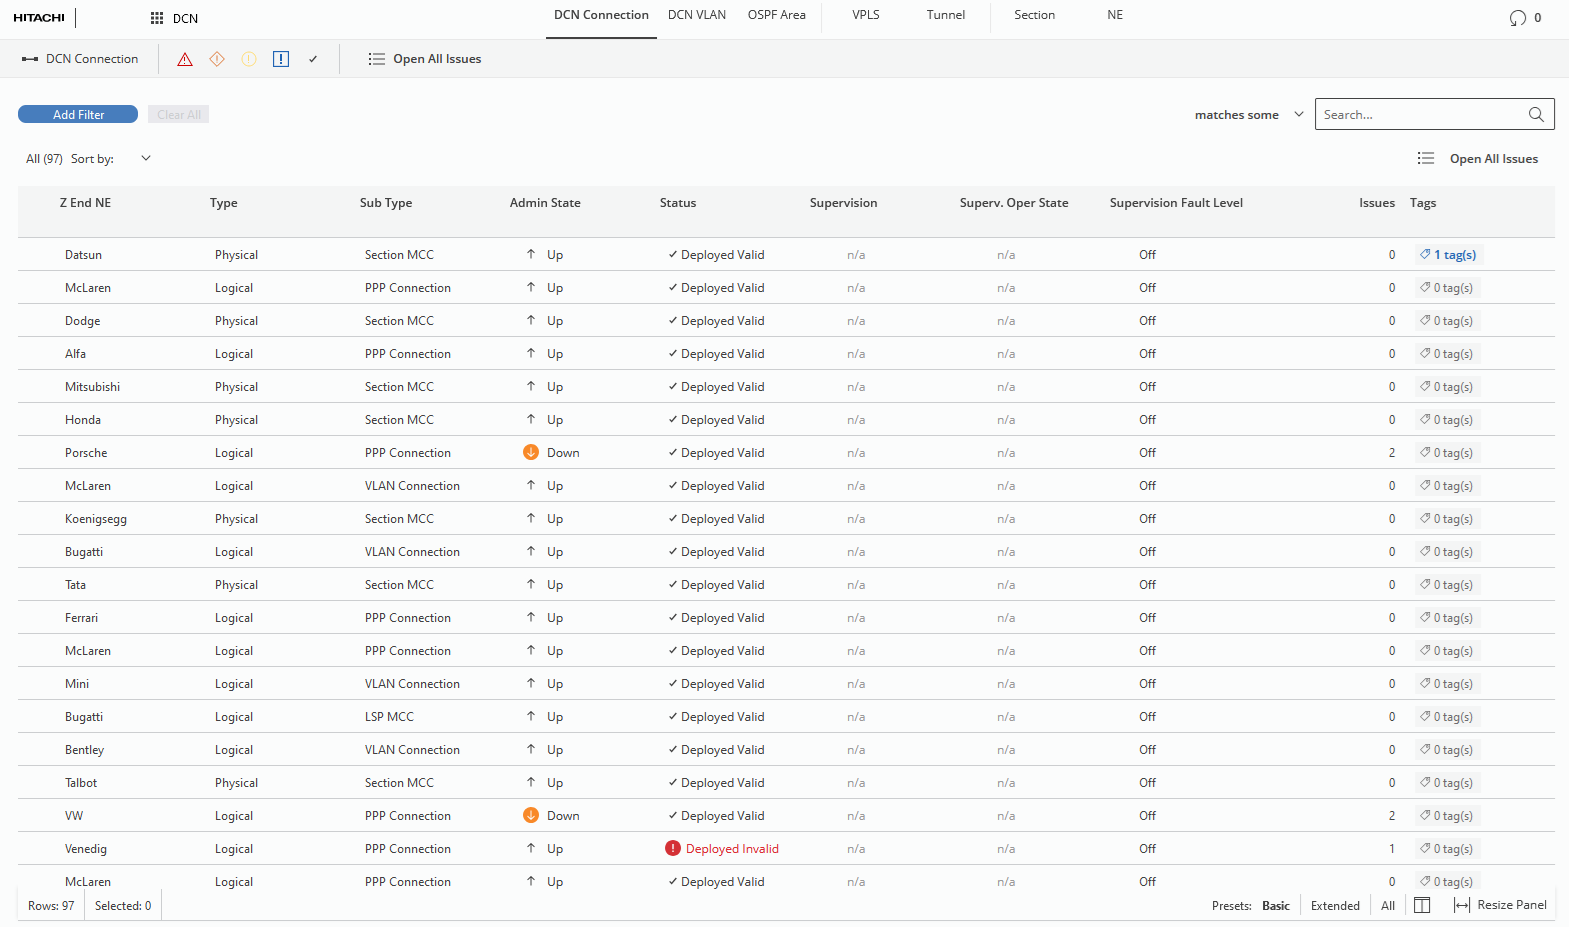
One use case for tags is a new way to filter rows in Web UI tables. Any object that can be tagged also has a “tags” column. Initially, it only shows the number of tags that are attached to the given entity.
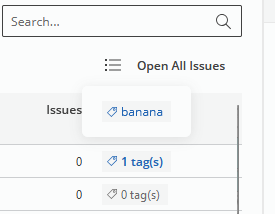
However, hovering over a badge causes a tooltip to be shown, containing all tags that are attached to the given entity.
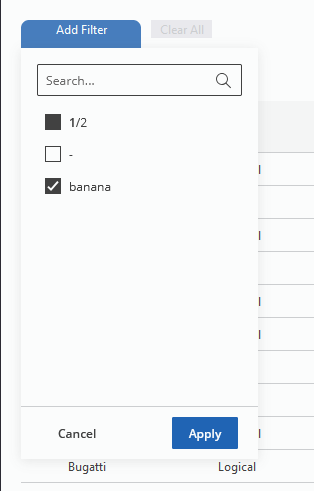
Tables may be filtered by tags, either by adding a filter on the left…
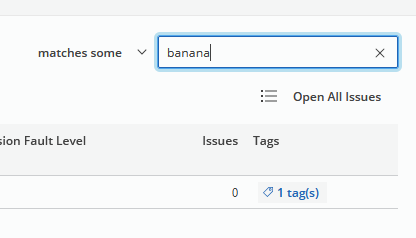
...or by typing the tag name in the search bar on the right:
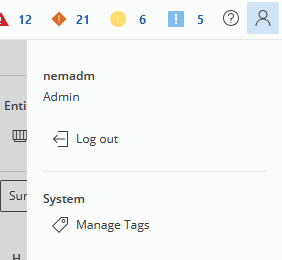
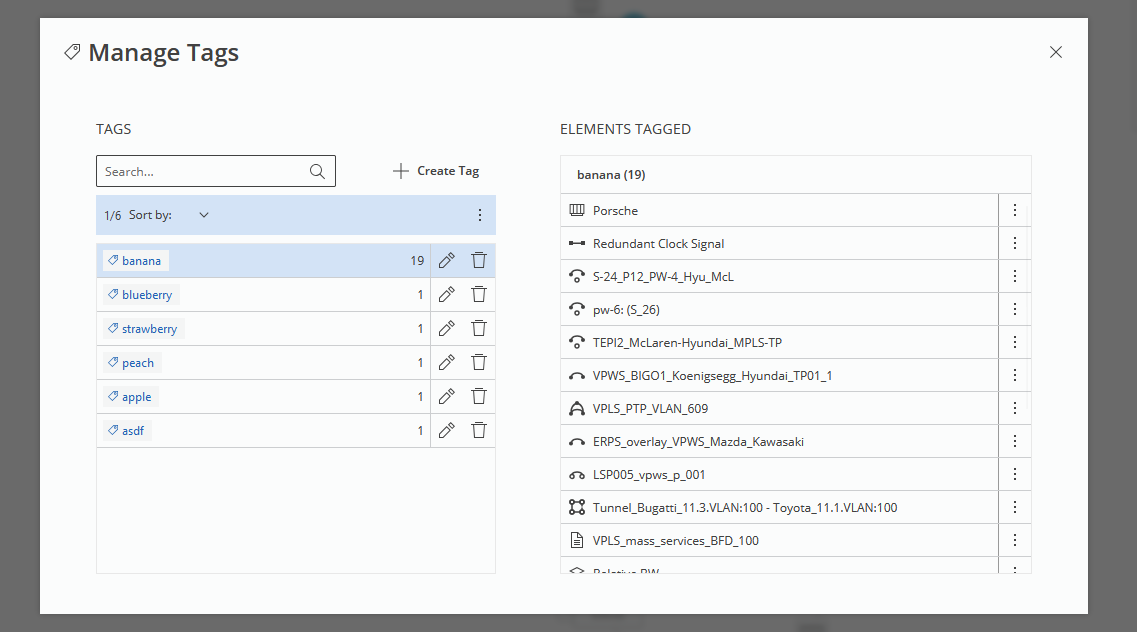
For convenient management of all tags present in the system, a “Tag Management” dialog is introduced. To open it, the user has to navigate to the user preferences by clicking the icon in the top-right corner of the screen and choose the “Manage Tags” option.
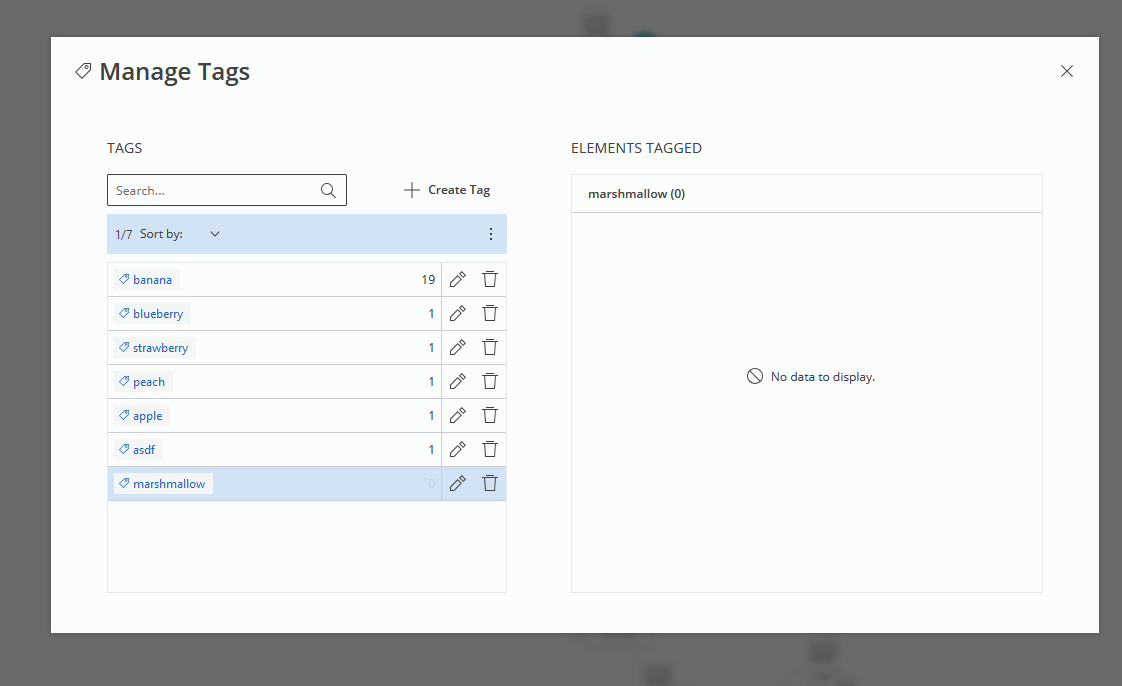
It causes a modal with two side views to be opened. On the left side, a table with all the tags in the system, along with the count of tagged objects is displayed.
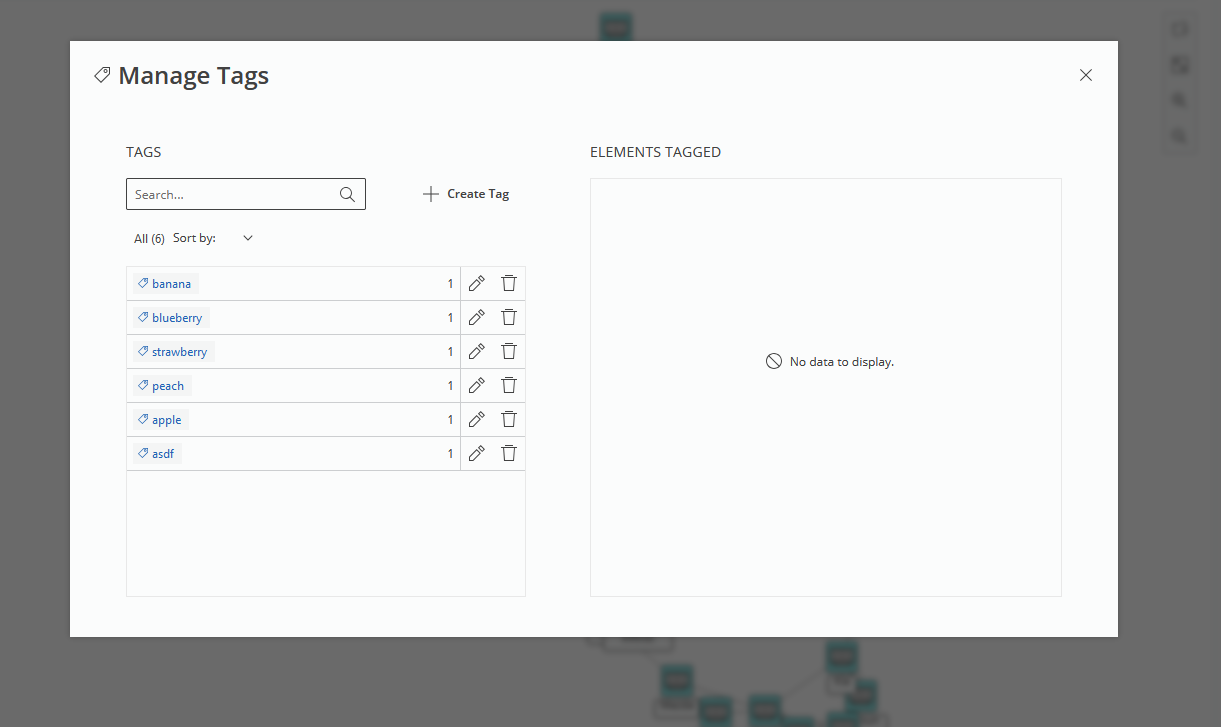
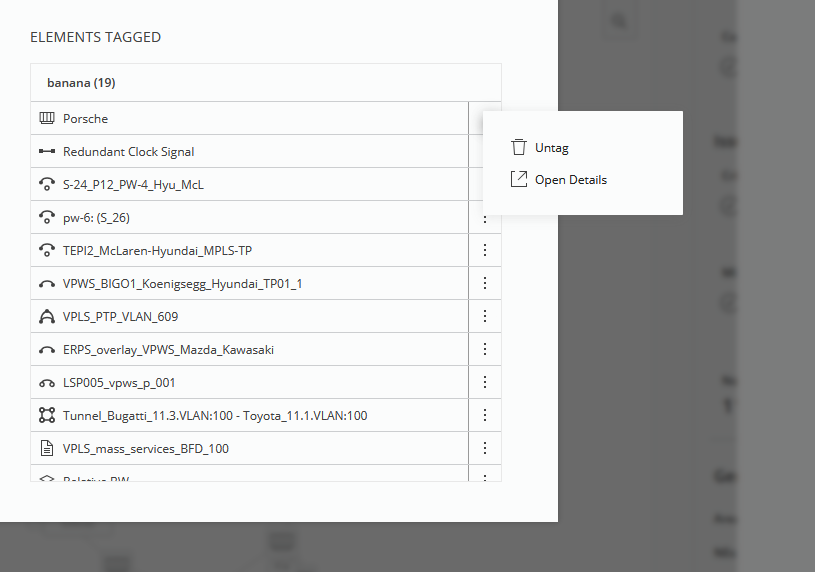
Clicking on some tag causes a list of objects it is attached to being shown on the right:
Here, the user has the options to remove the entity from the tag or open its details view.
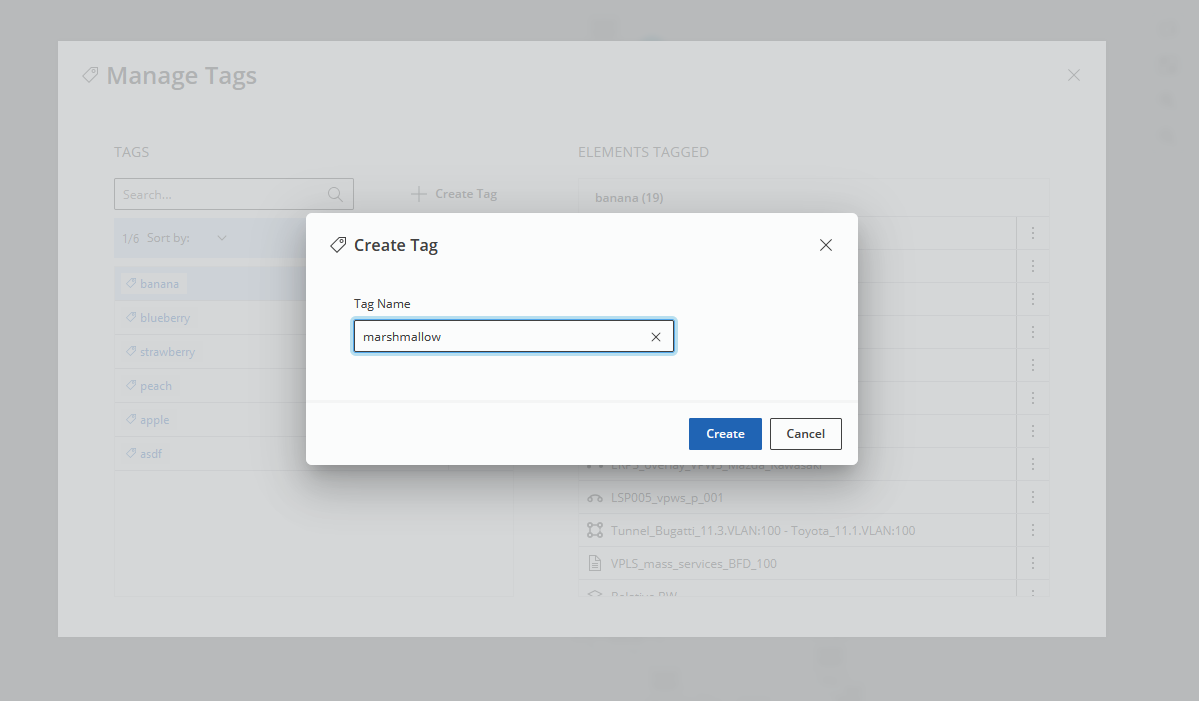
Additionally, the user has an option to create a new tag by clicking the “+ Create Tag” button on the left. This causes a simple dialog with a single input field to be shown:
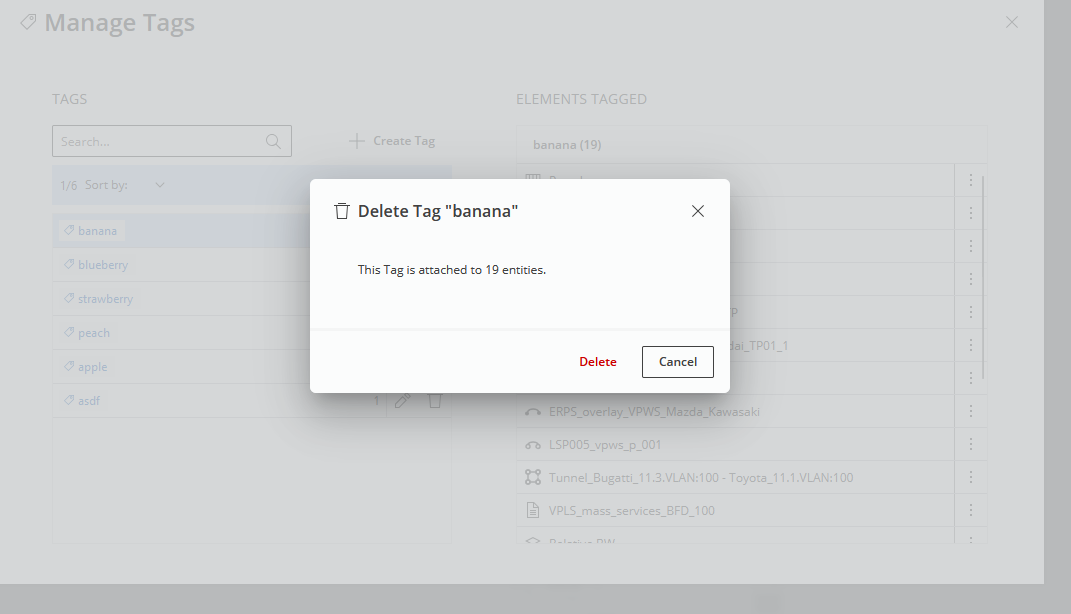
On the right side of each row in the tags table there are two buttons – one for editing a tag and one for deleting it.

The “Edit Tag” modal appears on top of the existing dialog window. When edited, apply the changes:

Also the “Delete Tag” modal appears on top; to remove the tag, click the “Delete” button: