
Pairing the Servers
As a first step the servers need to be paired. Thereto open a NEM Login window (local or remote client). In the Login Window click on the gearwheel icon  . The Host Manager will open. Next, click on the <+Add> button to display the <Edit Connection> dialog. Add “vm190” to the <Host Name> field. Click into the <IP Address> field. The IP belonging to the host name will automatically be added. Confirm with the <OK> button. Repeat the same steps for “vm191”.
Please note:
In case the NEM Login Window is opened on a local client, the Host Manager will already contain the local server (host) in its host list. In case the NEM Login Window is opened on a remote client, the Host Manager will not contain any servers (hosts) in its host list.
After these steps have been carried out the Host Manager will look as follows:
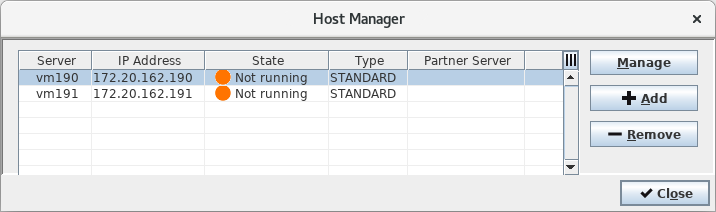
Now select the “vm191” row in the Host Manager. Click on the <Manage> button. The <Login> dialog of the Remote Admin Tool will show up. Log in to the server as an administrator user. Now the Remote Admin Tool will start up.
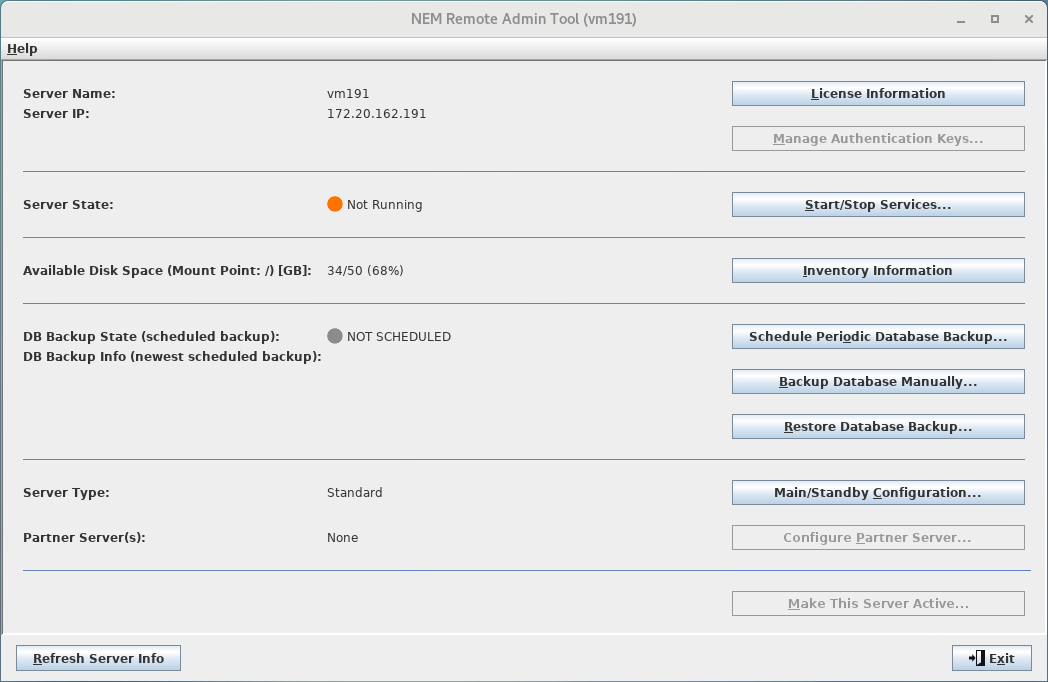
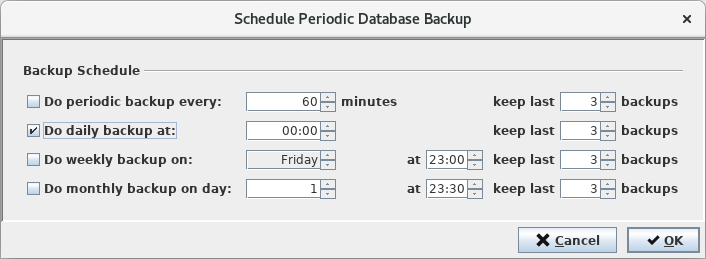
As a next step a periodic database backup must be scheduled. Open the <Schedule Periodic Database Backup> dialog by clicking on the <Schedule Periodic Database Backup…> button. Schedule a periodic backup, e.g. once a day at midnight and confirm by clicking on the <OK> button.
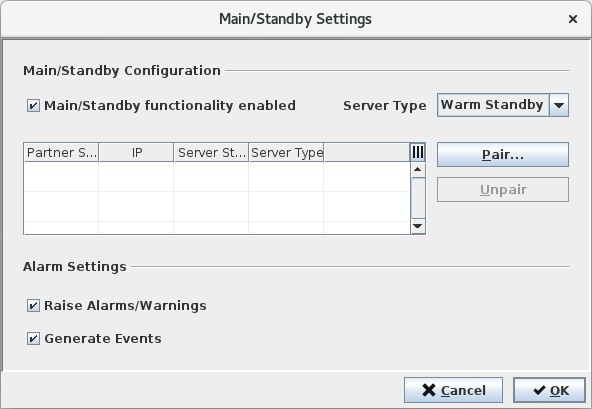
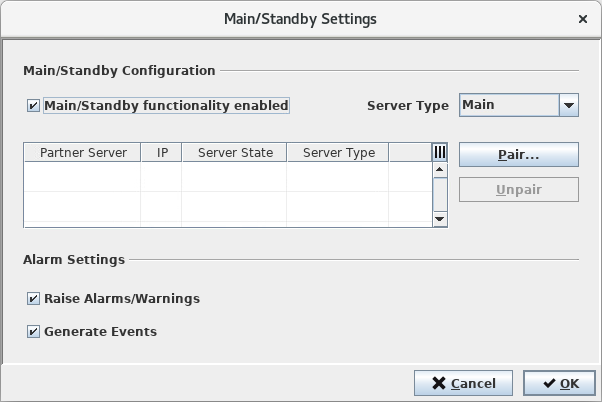
Now open the <Main/Standby Settings> dialog by clicking on the <Main/Standby Configuration…> dialog. Enable the Main/Standby functionality and select Server Type “Warm Standby”. Confirm by clicking on the <OK> button.
Close the Remote Admin Tool by clicking on the <Exit> button on the tool’s main window.
Switch back to the Host Manager and select the “vm190” row. Click on the <Manage> button (alternatively you can also double-click on the selected row). The <Login> dialog of the Remote Admin Tool will show up. Log in to the server as an administrator user. Now the Remote Admin Tool will startup.
Again, schedule a periodic database backup, enable the Main/Standby functionality and this time select Server Type “Main”.
Please note:
It is recommended to define the same periodical backup schedule for both servers.
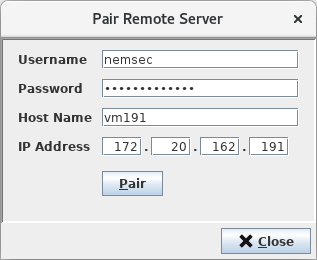
Now everything is prepared for the actual pairing operation. Select the <Pair…> button and on the displayed <Pair Remote Server> dialog enter the NEM security administrator username and password, the hostname, and the IP address of the Standby Server. Then click on the <Pair> button to complete the pairing.
Successful pairing will be confirmed.
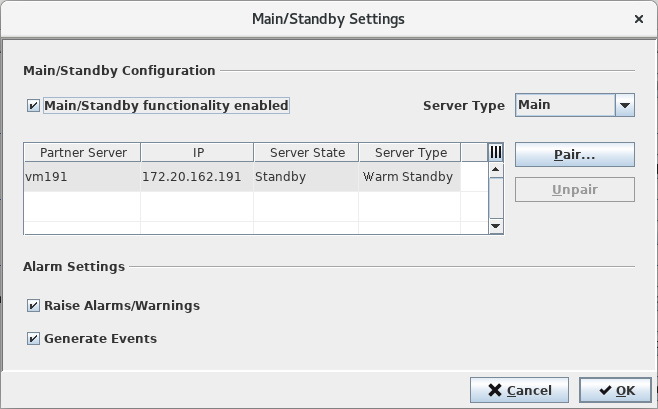
Acknowledge the message by clicking on the <OK> button. On the <Main/Standby Settings> dialog the Standby Server now is visible as an entry in the partner server list.
Please note:
Unchecking the <Main/Standby functionality enabled> checkbox for already paired servers on any server will disable (uncheck) the Main/Standby functionality on all paired servers.
Checking the <Main/Standby functionality enabled> checkbox for already paired servers on any server will enable (check) the Main/Standby functionality on all paired servers.